Will Wallpaper Stick to Plywood?
Wallpaper can transform any space. It adds color, texture, and style. But can it stick to plywood? The answer isn’t a simple yes or no. Let’s dive deep.
What is Plywood?
First, let's demystify plywood.
- Structure: Layers of wood pressed together.
- Strength: Stronger than regular wood. Why? The layers.
- Uses: Everything from furniture to floors.
Got it? Let's continue.
Why Plywood?
People ask, “Why wallpaper plywood in the first place?” Some reasons:
- Economics: It's more cost-effective than many alternatives.
- Flexibility: Plywood gives you a blank canvas. Like an artist, you can create!
- Temporary Solutions: Need a swift change? Plywood is there.
But, there’s a catch. Plywood has its quirks. And they might affect your wallpapering mission.
The Plywood Quirks
Before jumping in, consider:
- Texture: Plywood can be rough. Wallpaper likes smooth.
- Absorption: Plywood loves moisture. Wallpaper? Not so much.
- Edges: They can be rough or splintered. A challenge for sure.
However, fret not. Solutions abound.
When gearing up to apply wallpaper to plywood, the magic truly lies in your preparation. By following these detailed steps, you're setting the stage for a project that not only looks great but stands the test of time.
1. Sanding
Arguably the most critical step, sanding ensures your plywood is primed and ready for what's to come. Here's a deep dive:
- Why Sand?: Sanding levels out the surface, removing imperfections. Think of it like prepping a canvas for a painter. A smoother surface equals better wallpaper adhesion.
- Starting Point: Begin with a coarse sandpaper, perhaps 80 to 100 grit. This will tackle any glaring issues on the plywood's surface.
- Refining the Surface: Once the bigger imperfections are out of the way, switch to a finer grade, around 150 to 200 grit. This step is about refining, creating a surface that's smooth to the touch.
- Safety Measures: It might seem trivial, but always, always wear safety glasses and a mask. Wood particles are tiny. Protect those eyes and lungs!
2. Sealing
Sanding done? Great. Sealing is next on the agenda. Here's why:
- What is Sealing?: Think of sealing as adding a protective barrier to the plywood. This barrier prevents unwanted moisture from being absorbed.
- Why is it Important?: Moisture can be wallpaper's worst enemy. Over time, if plywood absorbs too much, the wallpaper may peel.
- Choice of Sealer: Opt for a good quality wood sealer, which can be found at most hardware stores. Application is simple: use a brush or roller, and follow the product’s instructions. Wait for it to dry thoroughly before moving to the next step.
3. Priming
The final curtain in our prep show, priming is the bridge between sealing and wallpapering.
- Why Prime?: Priming covers any stains on the plywood, ensures uniform color, and, importantly, enhances the grip for the wallpaper.
- Types of Primers: There are several primers available. Choose one that's specifically designed for wallpaper application. A quick chat with a store assistant can guide you to the right product.
- Applying Primer: Like with the sealer, use a brush or roller. Make sure to cover the entire surface evenly. Allow adequate drying time, usually 24 hours, before applying wallpaper.
With all this preparation, you've created a surface that's ready and raring for wallpaper. On to the exciting part: seeing your vision come to life!
Choosing the Right Wallpaper
Now, for the fun part. Remember, all wallpapers are not made equal. Look for:
- Vinyl Wallpapers: Durable and easy to clean.
- Non-Woven Wallpapers: Breathable. Goodbye, mold!
- Textured Wallpapers: Camouflages minor plywood imperfections.
Avoid super thin wallpapers. They might not hold up.
The Application Process
Now that the plywood is prepped and primed, you're ready to transform it. Wallpapering might seem daunting, but with the right approach, it's a breeze. Let's unpack the steps for a flawless application.
1. Measure
The first step? Measure, and then measure again.
- Purpose: Accurate measurements ensure you cut the right amount of wallpaper. Too little? You'll run out. Too much? Wasted resources.
- Tools: Arm yourself with a tape measure and perhaps a notepad. Measure the height and width of your plywood. Then, calculate the total area by multiplying the two.
- Buffer: Always account for a little extra. Mishaps happen. It's better to be prepared.
2. Cutting
With measurements in hand, it's snipping time.
- Guidelines: Using your measurements as a guide, mark the wallpaper. Leave a slight excess, about an inch or so on all sides. This buffer aids adjustments.
- Sharpness: Use sharp scissors or a utility knife. Dull tools could lead to tearing or uneven edges.
3. Application
The moment of truth! Application is all about precision and patience.
- Adhesive: Don't skimp here. Invest in a high-quality wallpaper adhesive. Follow the manufacturer's instructions. Typically, you'd roll or brush it onto the plywood, ensuring an even coat.
- Wallpaper Positioning: Start from the top and gently lay down the wallpaper onto the adhesive-coated plywood. Use a wallpaper smoother or a squeegee to gently press and smooth out any air bubbles.
- Bubbles: These sneaky things can ruin the look. If you spot one, lift the wallpaper slightly, smooth out the bubble, and re-stick.
4. Edging
Precision matters, especially on the edges.
- Trimming: Once the wallpaper is set, take your utility knife and carefully trim the excess from the edges.
- Clean Finish: Aim for a smooth, clean finish. This ensures longevity and a professional look.
Expert Tips:
While the above steps provide a solid framework, these nuggets of wisdom can elevate your wallpapering game:
- Trial Run: Before going all out, test a small patch. This helps you get a feel for the adhesive and the wallpaper.
- Daytime Advantage: Always wallpaper during the day. Natural light makes it easier to spot imperfections and bubbles.
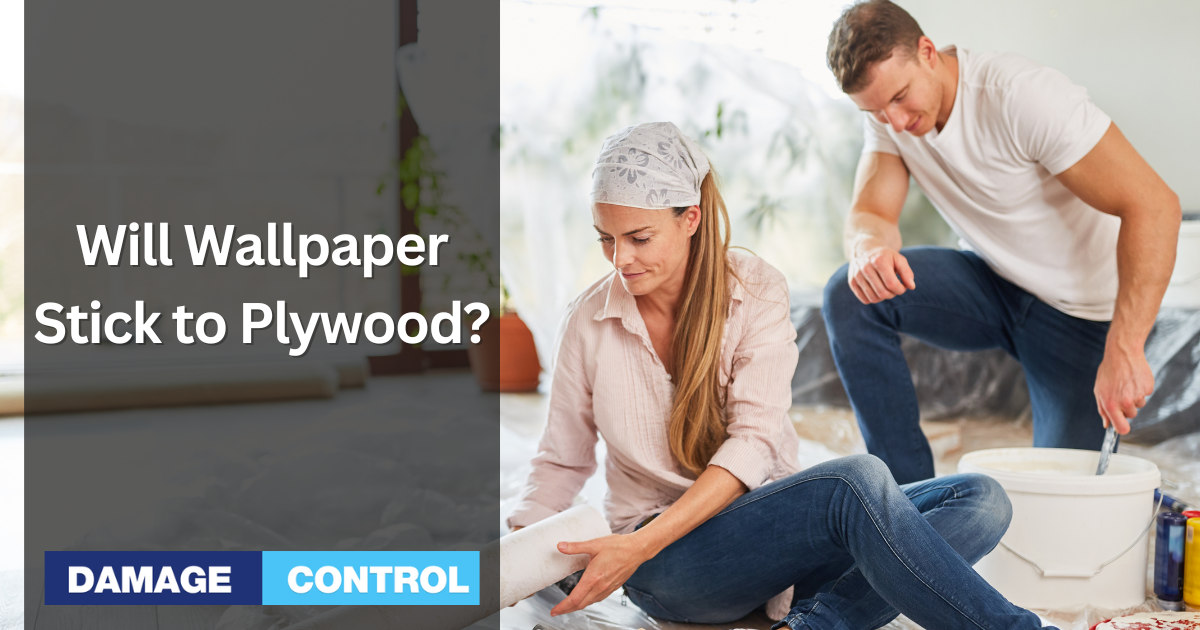
- Team Effort: If possible, get a friend or family member to help. An extra set of eyes and hands can spot issues, hold the wallpaper steady, and make the process enjoyable.
The Grand Conclusion
Will wallpaper stick to plywood? Yes, with a dash of preparation and a sprinkle of patience. Plywood is a canvas, waiting for your touch. A transformation awaits! Embrace the change. Now, armed with knowledge, go forth and decorate!