Ah, the bathroom, a place of privacy, solitude, and occasional waterworks. Unfortunately, all that water can sometimes cause a problem, leaving behind damage that can be a real headache.
In this blog post, we'll explore the ins and outs of bathroom water damage: what causes it, how to identify it, and what steps you can take to address it.
So grab a towel, and let's dive in.
Explanation of Bathroom Water Damage
Bathroom water damage can occur for various reasons, from leaking pipes to overflowing toilets. When left unchecked, water damage can lead to structural issues, mold growth, and even health problems for you and your family.
That's why addressing any signs of water damage as soon as possible is important.
Importance of Addressing Bathroom Water Damage
Think of bathroom water damage like that weird noise your car makes. Sure, you could ignore it, but eventually, it will cause serious problems.
The longer you wait to address water damage, the more extensive and expensive the repairs will be. Not to mention, mold and mildew can cause respiratory problems and aggravate allergies, making your bathroom a downright hazardous place to be.
This post will examine some of the most common causes of bathroom water damage, from leaky pipes to clogged drains. Then, we'll look at identifying water damage, including water stains, musty odors, and mold growth.
Next, we'll discuss the steps you can take to address water damage, including disinfecting the affected area. Finally, we'll wrap up with some tips on how to prevent bathroom water damage from happening in the first place.
Common Causes of Bathroom Water Damage
- Leaky faucets or pipes
- Clogged or overflowing toilets
- Malfunctioning appliances, such as washing machines.
- Condensation buildup due to poor ventilation
- Cracks or gaps in tile or grout
- Damage to the bathroom's waterproofing membrane or sealant
- Water damage from adjacent rooms, such as a flooded basement or burst pipe in a neighboring unit
- Natural disasters such as floods or severe storms
- Lack of sealing of grout in tile showers and their drain pans
Categories of Water Damage
Although these three categories may seem insignificant, they give you the information you need to make accurate decisions when attempting to DIY water damage issues. If you're dealing with category 3, you need a professional company with the equipment, training, resources, licenses, etc., to handle the job correctly and safely. And even category two should give you pause.
Category 1 (Clean Water)
This water originates from a sanitary source and poses no substantial risk from exposure to dermal, ingestion, or inhalation. Examples include broken water supply lines, tub or sink overflows with no contaminants, or appliance malfunctions involving water supply lines.
Category 2 (Gray Water)
This water contains significant contamination and has the potential to cause discomfort or sickness if contacted or consumed by humans. It can contain potentially unsafe levels of microorganisms or nutrients for microorganisms. Examples include overflow from washing machines or dishwashers, toilet overflow with urine without feces, and sump pump failures.
Category 3 (Black Water)
This water is grossly contaminated and can contain pathogenic, toxigenic, or other harmful agents. Examples include sewage, toilet backflows from beyond the toilet trap (regardless of visible content or color), flooding from seawater, rising water from rivers or streams, and ground surface water or water from other weather-related events.
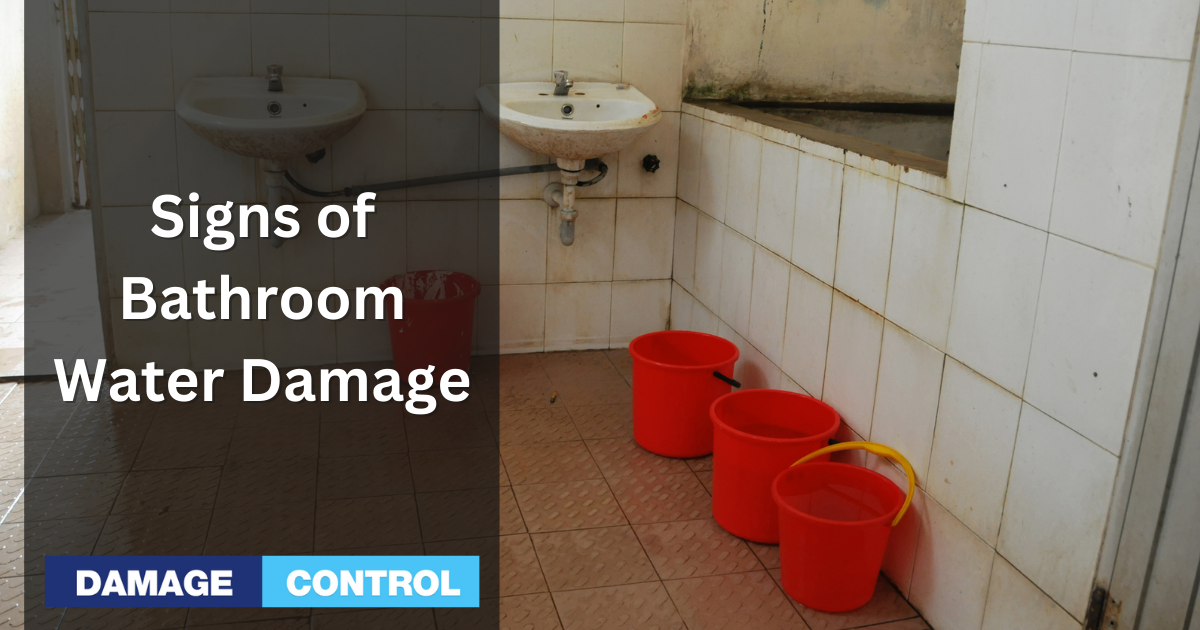
Signs of Bathroom Water Damage
Suppose you notice water stains on walls, ceilings, or floors, peeling paint or wallpaper, a musty odor, dampness, standing water, mold or mildew growth, and the obvious tub or toilet overflow. In that case, you likely have water damage in your bathroom. Don't panic – follow the steps below to get things back to normal.
How To DIY Bathroom Water Damage
Addressing water damage in a bathroom requires careful attention to prevent further harm, mold growth, and structural damage. Here's a step-by-step guide to handling water damage in a bathroom. It's the same basic process professionals use. We will cover the differences between the DIY and Pro processes at the end of the step-by-step process.
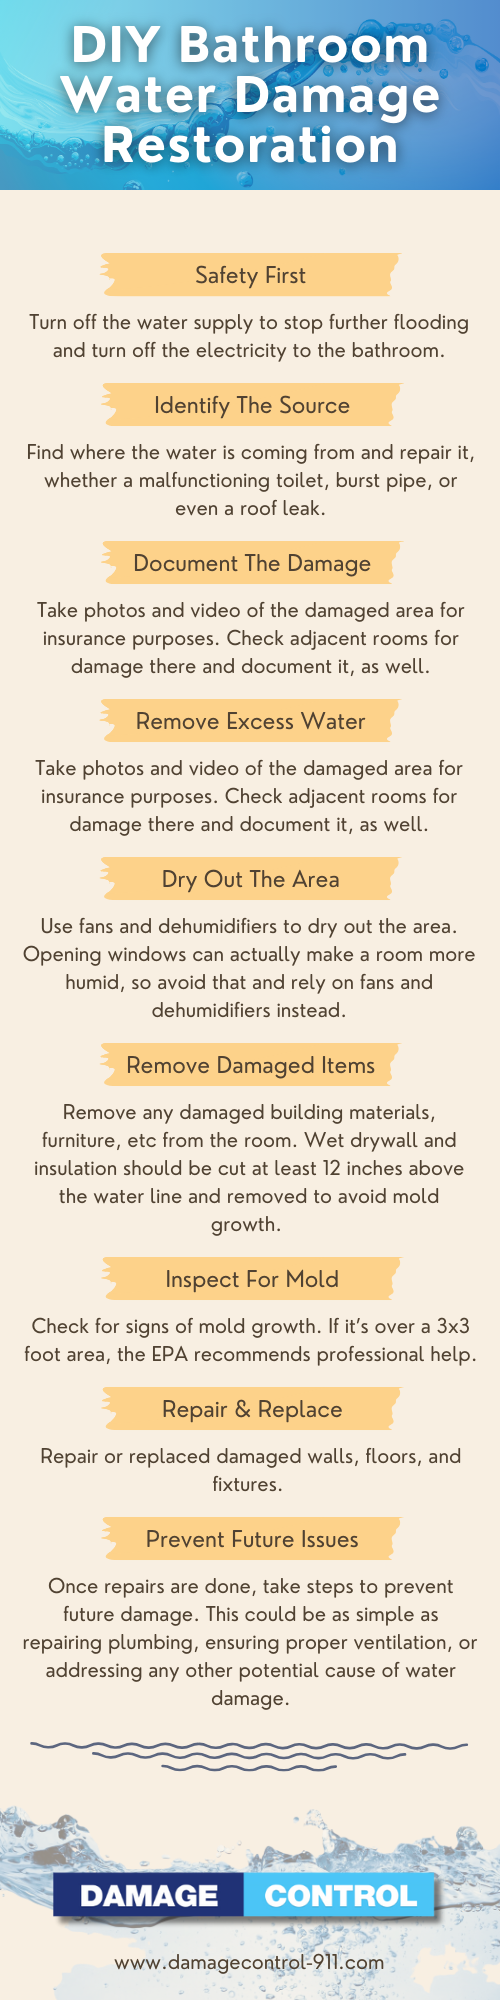
Safety First
Before beginning any water damage cleanup, ensure the area is safe. Turn off the water supply to stop further flooding, and if necessary, turn off the electricity to the bathroom to avoid electrocution.
Identify The Source
The first step is identifying where the water is coming from. It could be a burst pipe, a leaking faucet, a malfunctioning toilet, or other sources. Repairing the source of the leak is crucial to prevent further damage.
Document The Damage
Before you start the cleanup process, take photographs and videos of the damaged areas. This will be necessary for insurance purposes. You should follow the same process in adjacent rooms.
Remove Excess Water
Use towels, mops, or a wet/dry vacuum to remove as much water as possible from the area. The faster you can get the water up, the less chance there will be for mold to grow, and the faster it will dry. If you have access to a commercial-level extractor (which can be rented), you can cut the drying time.
Dry Out The Area
Using fans (as many as you can safely run) and dehumidifiers can greatly assist in drying out the area. A bathroom's high humidity makes it a prime spot for mold growth, so it's essential to dry it out as quickly as possible. While opening windows might seem like a good idea to expedite drying, it's important to consider the external temperature, dew point, and humidity.
If the outdoor air is warmer and more humid than the indoor air, opening the windows can introduce additional moisture into the space, which can counteract your drying efforts. Moreover, when the dew point outside is higher than the temperature inside, condensation can form, adding moisture to the room.
Always check the external conditions, and if they're not conducive to drying (e.g., high humidity, rainy days, or when the dew point is close to or above the indoor temperature), it's better to keep the windows closed and rely on fans and dehumidifiers.
Remove Damaged Materials
If there is damaged drywall, flooring, or other materials, they will likely need to be removed. Wet drywall can become a breeding ground for mold. For example, cutting at least a foot higher than the lowest damp line on the wall is advisable if the drywall is wet. This ensures that you're removing all potentially compromised material.
Any insulation behind the drywall that's gotten wet should also be cut out and removed to that same height. Damp insulation can lose effectiveness and harbor mold and bacteria, so it's best to replace it.
Use a moisture meter, learn to use it properly, and check regularly throughout the drying process until all materials reach 15% or less with the correct material type setting on the meter. This includes wood framing studs and the bottom plate. If the floor is not concrete, that has to be dried also. If you have enough fans and a dehumidifier, you usually take 24 to 48 hours to reach your target dry points. We have a moisture-meter guide that explains how they work and how to use them like a professional.
The moisture meter helps you locate and map out the boundaries of the water damage. This will keep you from removing too much materials, such as drywall.
Inspect For Mold
Bathrooms are already prone to mold due to their damp nature. After water damage, the risk increases. Check for signs of mold growth; if you find any, it's essential to address it immediately. Depending on the extent of the mold, you may need to call in professionals.
Repair And Replace
Repair or replace damaged walls, floors, or fixtures. This may involve putting in new drywall, painting, laying new flooring, or installing new fixtures.
Prevent Future Issues
Once everything is repaired, take steps to prevent future water damage. This might involve fixing older, worn, or damage-related plumbing issues, sealing cracks or gaps, ensuring proper ventilation, or addressing any other potential causes of water damage.
Consult Professionals
If the damage is extensive or you're unsure about any step in the process, consult professional flood recovery services. Water damage can lead to structural issues or health hazards if not properly addressed, so don't hesitate to seek help.
Conclusion
Remember, addressing bathroom water damage immediately is key to avoiding more extensive damage and potential health hazards. Follow the steps we outlined above to get things back in working order and prevent future damage from occurring. Call us if you're in Central Florida; we're happy to help.